Both my current Chromebook and Android tablet were prehistoric at best, so when I saw that the Samsung Chromebook Plus went down to $350 during the Black Friday festivities at amazon.com, it was a no-brainer, a two-for-one purchase without breaking the bank!
I am planning to have a LOT of posts about it here, starting with a text and pictures unboxing 🙂 I promise, no annoying audio or video in this post! Not only that, but you will find some useful tidbits here! Money-back guarantee 🙂

WHAT’S INCLUDED?
- the laptop (with the S-Pen nestled in its slot)
- the unibody AC adapter
- paperwork (Quick Guide and Warranty)
- stylus nib replacement accessory
- that’s it, nothing else is included
THE OUTER BOX
The SCP (that’s my shorthand for Samsung Chromebook Plus because I’ll repeat the name many times) comes in a pizza-style cardboard box. There is a seal on it, and per the instructions on the box, DO NOT accept a purchase if that seal is broken. Unlike you are buying open-box or used that is.

OPENING THE BOX
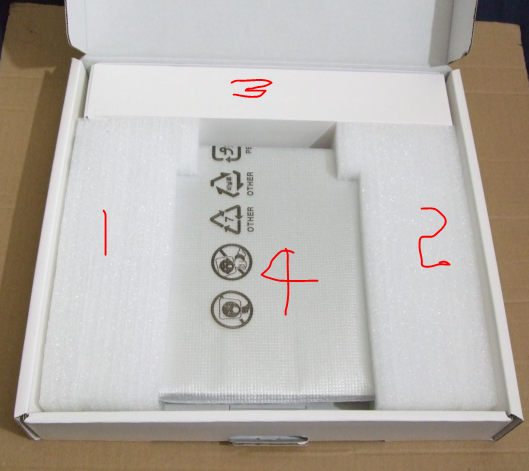
Opening the cardboard box reveals what’s inside. #1 and #2 (in the picture below) are protecting buffering. #3 is a removable cardboard box that contains the AC power adapter. And in #4, the star of the show, wrapped in a protective wrapper (which I’m gonna use as a temporary sleeve until I find a more permanent case for it).
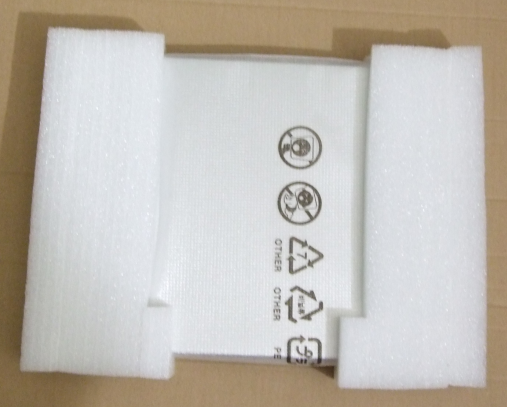
The layers slow move away, revealing the actual Chromebook:

THE AC POWER ADAPTER
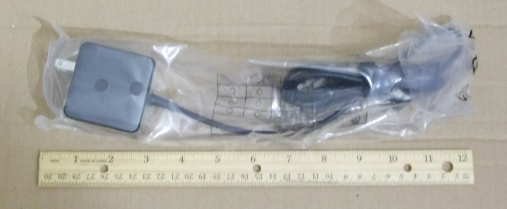
The AC power adapter is a unibody device, with the standard two wall prongs on one end, and a USB-C connector on the other end. It is not a tiny adapter as you can see:
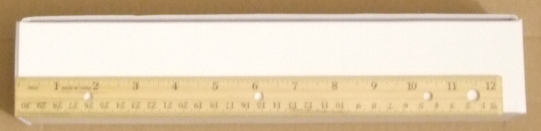
The AC adapter is safe inside a thick clear bag, pictured with a ruler for size:
Here’s the AC adapter out of the clear bag. As you can guess by the reflections, there is protective tape on the body of the AC adapter. Make sure you remove that before using. The cable has a built-in sticky strap, no throw-away ties included in the box 🙂
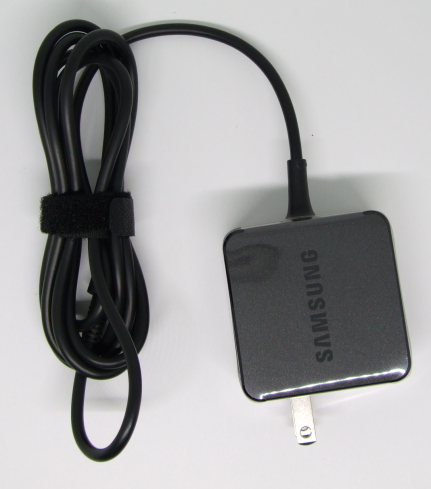
There is a blue light on the AC adapter head that lights blue when connected to power (not pictured).
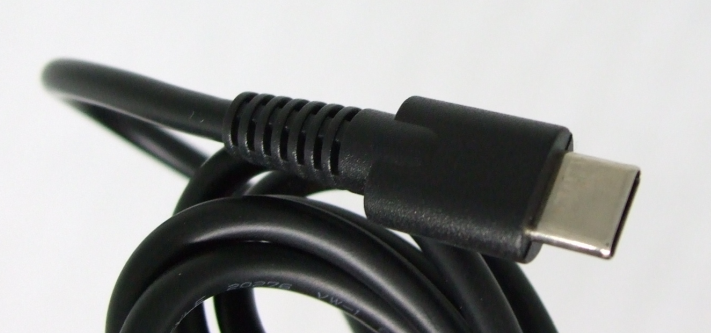
And if you want proof this indeed has a USB-C connector:
PAPERWORK AND S-PEN TOOL
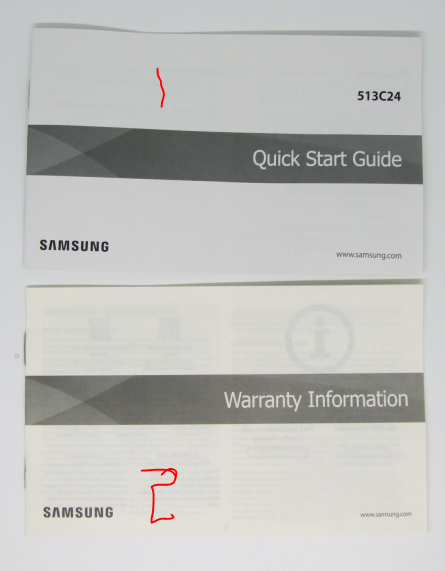
The other three things that are included are pictured here. Two pieces of paperwork, the Quick Start Guide (useful) and the Warranty (not useful unless you need it). The Warranty paper is more yellow, it’s not a trick of the light! The Quick Start Guide is written in English and then repeated in Spanish.
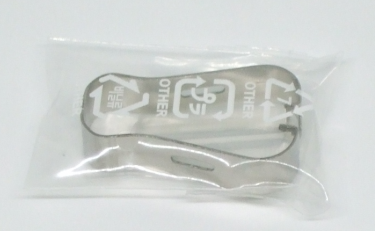
The last included item is the tool for the S-Pen nib changing (I believe). I haven’t even opened it yet. It’s a small thing.
THE LAPTOP ITSELF!
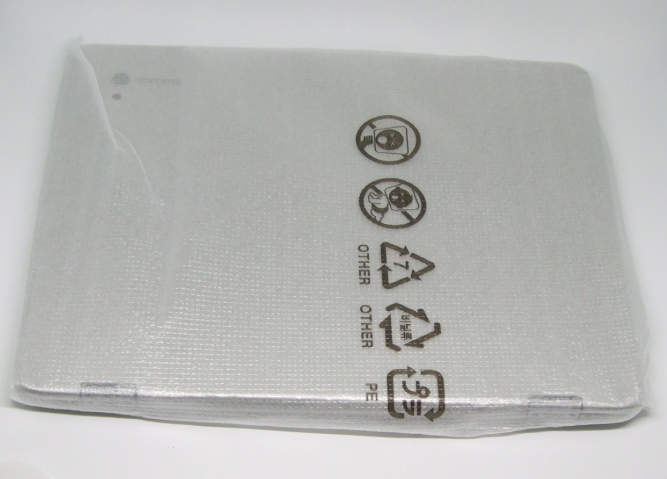
And now back to the start of the show, the SCP! Remove this wrapper gently, so you can reuse it as a temporary protector until you find a better one. Or if you are a fan of double bagging and triple bagging laptops, this can be the first layer 🙂 I know some of you do this, confess 🙂
And here it is, the laptop! But you have more prepwork: there is protective tape running between the hinges, above and below them, make sure you remove those too before using it. I circled the reflection there that hints at its existence. It’s hard to photograph it 🙂

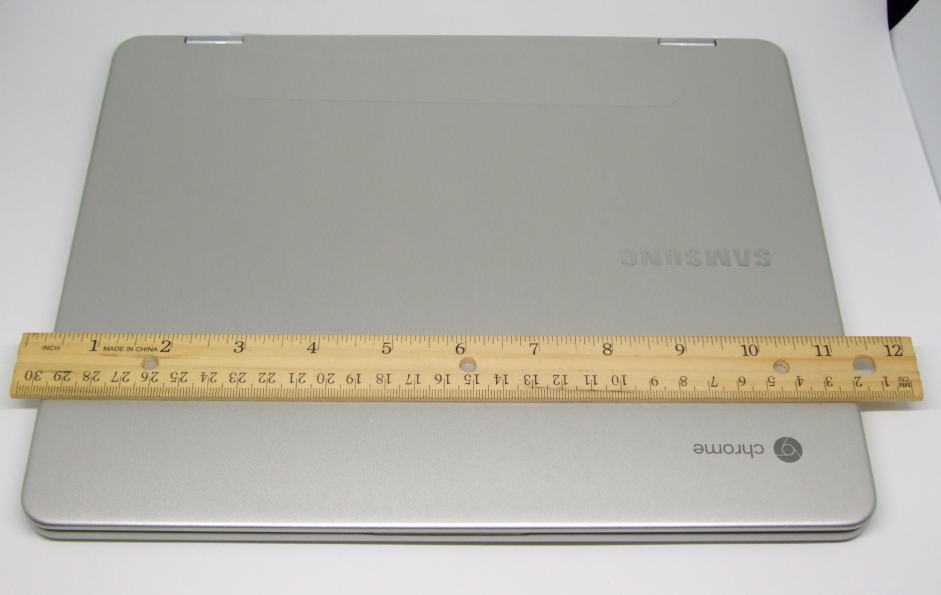
It’s one thing to read the size on paper, it’s another to see them in “real life”. Thus the ruler shot 🙂 As you can see it has both a Chrome and a larger Samsung logo on the lid. I have an older Samsung Chromebook and I will do size by side pictures in future posts.
You are not done removing things yet, on the bottom of the laptop, there is a pastel-green protective tape on the four little feet.

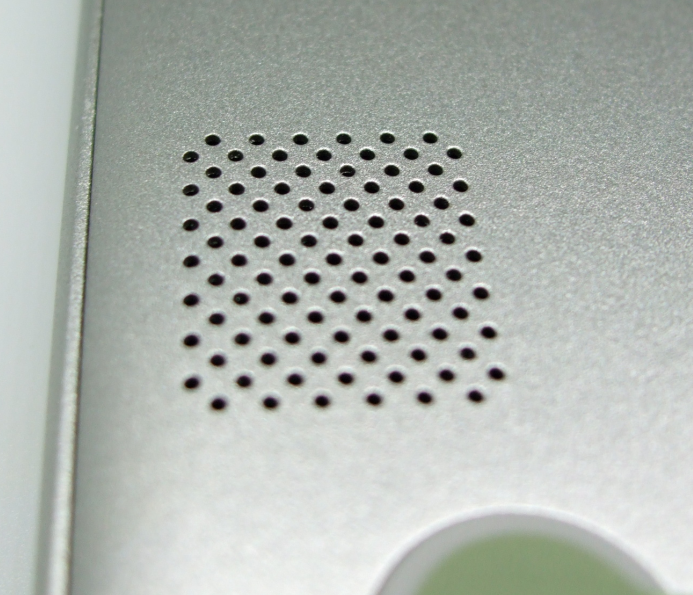
And next to the little feet, on the front side of the laptop, on the under side, you will find the two speakers, one on each side. That’s right, the speakers are underneath the laptop!
THE PORTS
There are no ports on the back or the front of the laptop. The action happens on the sides only. It is a 360 hinged design after all, so it makes sense to have the ports out of the way of the rotating action.
This is the left side, first the Volume Down/Up rocker, then the power status light and the power button, one of the two USB-C ports (either one can be used for charging), and the S-Pen nestled into its slot. The power light is red while charging, green after charging is complete, and blue when it is turned on.

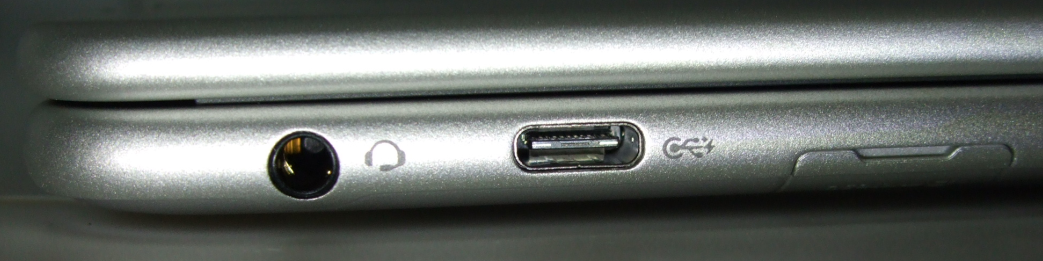
We have fewer things on the right side, a combo headphone jack and mic input (take that iPhones and Pixels), the other USB-port (one on each side), and the microSD slot.
And that’s it! The unboxing post is complete! If you have any questions, please leave a comment!!!
NEXT STEPS
As I’m writing this, I haven’t even turned it on. The next step is to turn it on and do the initial setup and configuration. This will be the next post. After that, there will be many and more posts, how things work, tips and tricks, “bag fitting”, what accessories work well with it, how well does Google Play work (I am planning to use it equal parts laptop, equal parts tablet) and so on.
UPDATE: I have posted the Initial Setup and Configuration How-To! Hooray!
If there are any things you specifically want to see, please leave a comment on any of the SCP posts!
Leave a Reply