In this post, we have for you a text and pictures unboxing summary for the LG Stylo 2 Android smartphone. There’s no video and no audio, so this post won’t “eat” your bandwidth 🙂 This particular phone is the Virgin Mobile USA edition. Speaking of which, in Part #1, we outline how to deal with the annoying activation process. This is only an unboxing. More posts are coming with review-related matters and tips and tricks and such!
What’s Included?
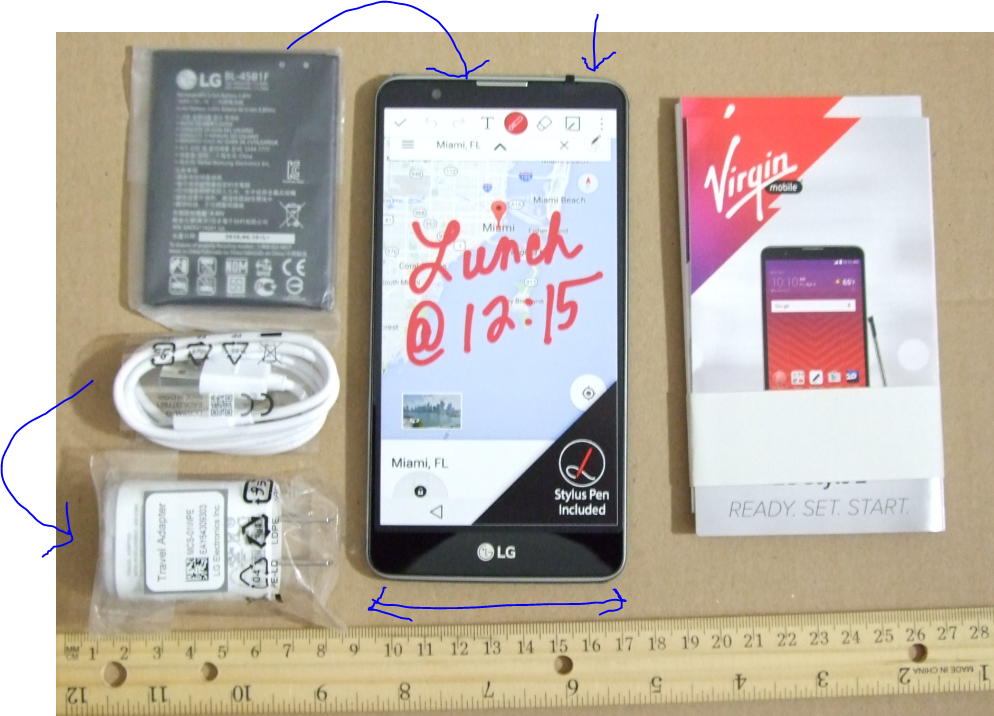
As you can see in the picture above, the following items are included:
- the Phone (I removed four protective pieces of tape from it)
- the Stylus is stored inside the phone, see rightmost blue arrow
- the removable battery in its own little bag
- the microUSB to USB 2.0 cable in its own little bag
- the USB AC cable in its own bag too
- paperwork (getting started, warranty, etc)
Opening the box
There is a proper way to open the box, pull the red strap on the back of the container.
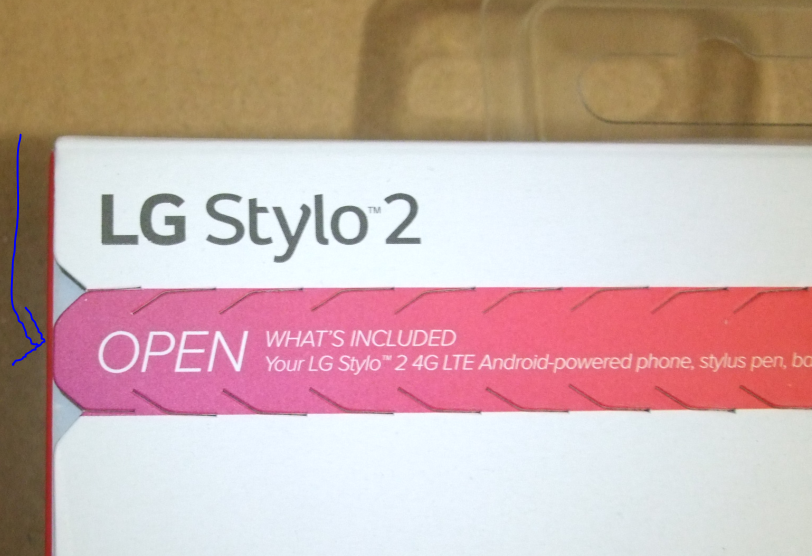
The phone and everything else are stashed inside the clear clamshell type thing:

Bottom of the Phone
The bottom of the phone has three things of note, from left to right, we have the microUSB port in the middle, the little microphone hole next to that, and the 3.5mm headphone jack on the rightmost side. The little blue things you see on the left and right edges are protective tape (I forgot to remove them before taking pictures).

Buttons on the Back
Continuing with a popular LG trend, the buttons are on the back of the device, instead of the sides or the front. As you can see in the picture below, the Power button sits between the Volume UP and Volume DOWN buttons. The Camera is above those three, while the flash is on the side of the camera.
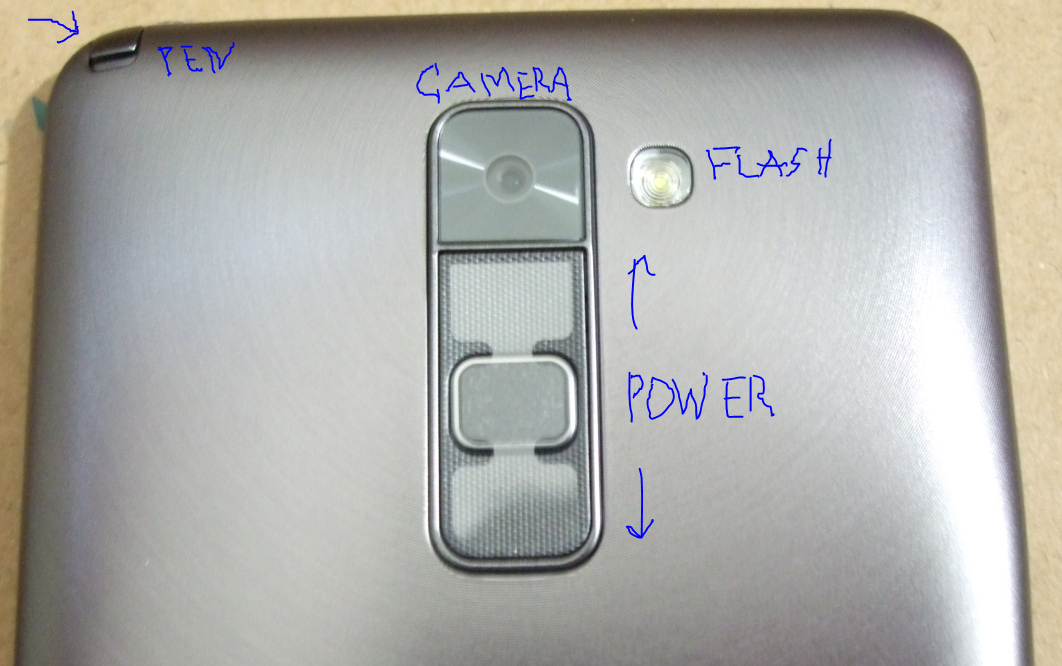
If you are not familiar with this button configuration, it may take a few days to get used it. But after about 2 months with the phone, I’m not having any more accidental button presses than I have with phones with buttons at conventional positions on the sides and the front.
Back of the Phone, No Cover
The cover is removable on the back, so you can install/uninstall the battery and the microSD card. You can see the battery contacts, the battery basin, the microSD drive area, as the cover is removed. The top part is the three buttons along with the camera and flash (see picture above). Those remain on the camera body. The removable cover is just a cover, it does not have any technology on it (as expected). You can also see the notch of the Pen on the top left corner of the picture.

Removable Battery
Many flagship phones don’t have this practical feature (hello, Samsung Galaxy Note 7!), but the Stylo 2 has a removable battery. Here they are side by side:
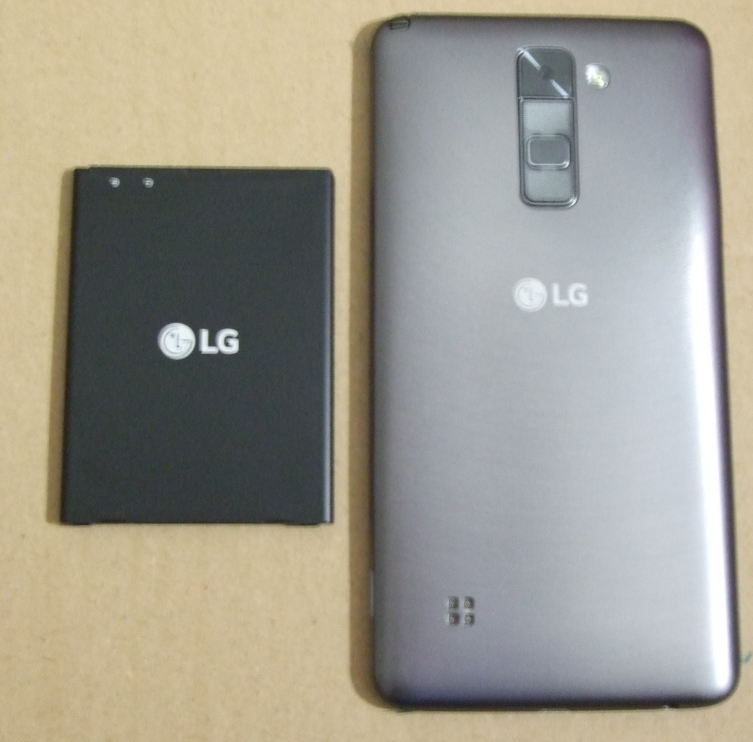
The speakers are the four little squares on the bottom left side of the phone in the picture above.
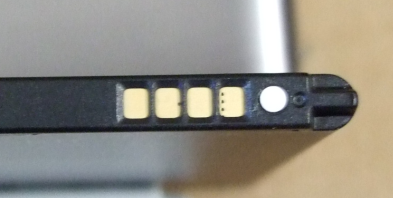
This is a close-up of the contacts of the battery:
Skinny Pen
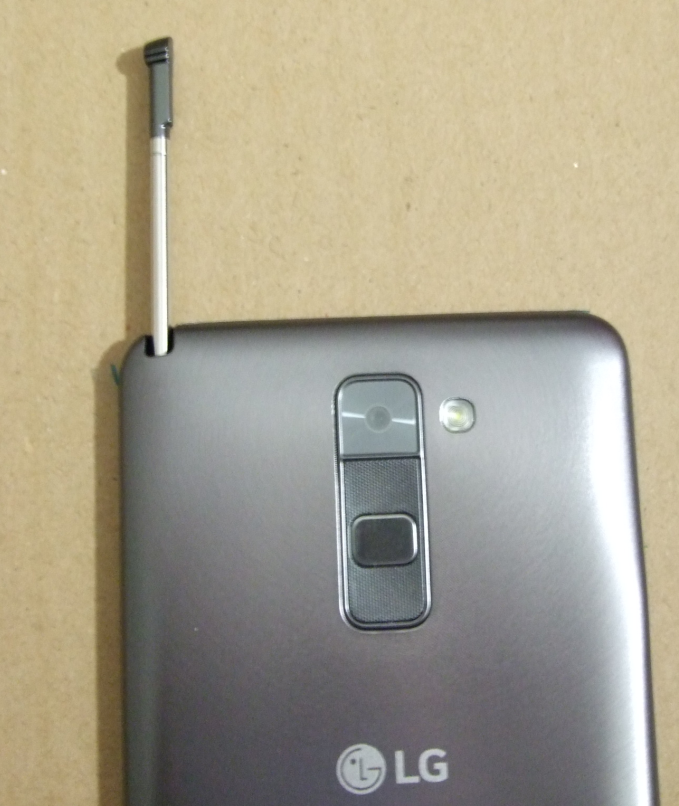
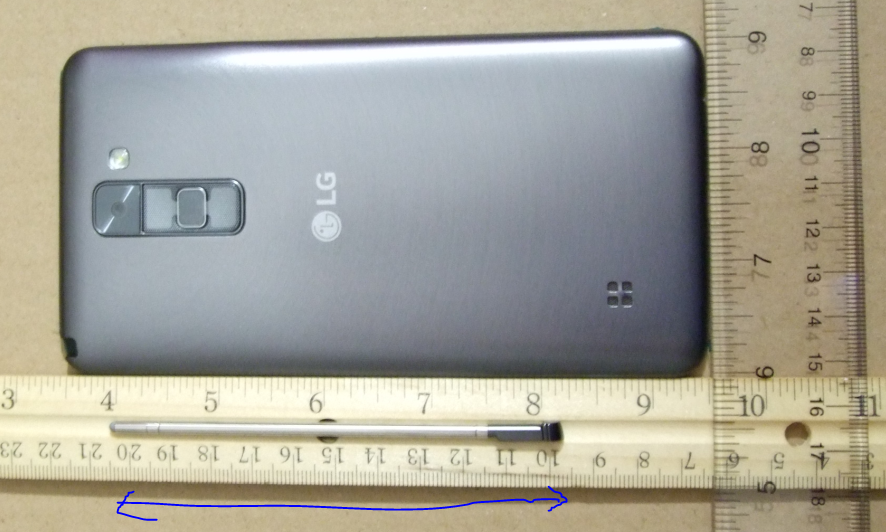
The Pen, which is stored inside the body, is a very skinny one, smaller than the Samsung S-Pen. This is not ideal for long form writing, but this is not a pen designed for writing essays 🙂
This should give you a better feel for the size of the pen, it’s about 4 inches long:
COMING NEXT
+ UPGRADING from MARSHMALLOW to NOUGAT
+ Review and Opinion on the Phone
+ Tips and Tricks
+ Accessories
+ and more!
Leave a Reply