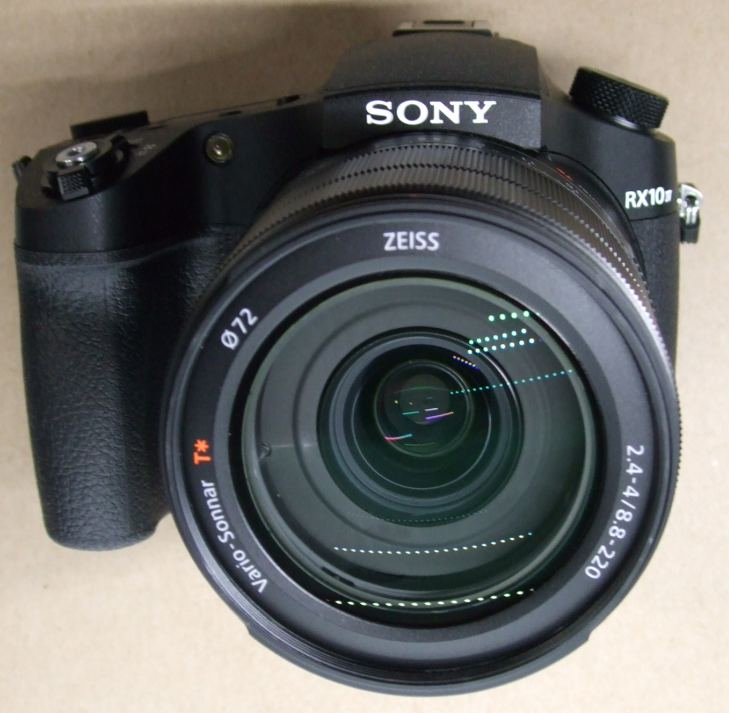
we are back with another unboxing post. This time we have the Sony RX10 Mark IV digital camera, an all-in-one type of a camera with a fixed lens that promises much and more! We’ll have a lot more on the camera in future post. For now, we take it out of the box…
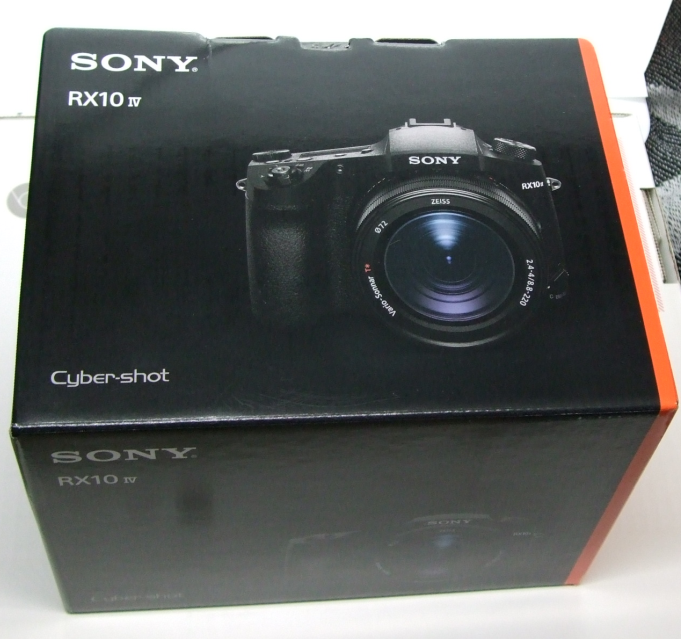
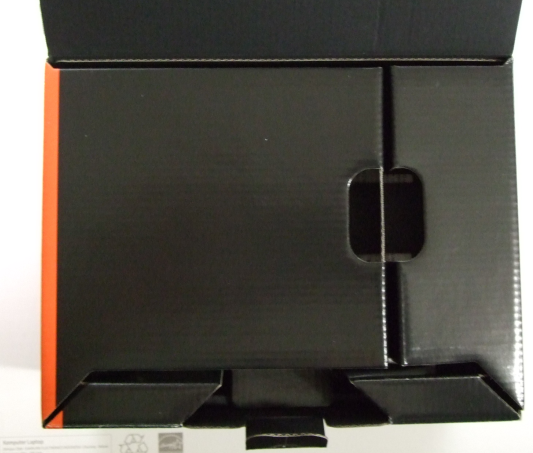
Opening the box reveals a structured cardboard-y assembly that holds the camera, the accessories and the paperwork…
WHAT’S INCLUDED IN THE BOX?
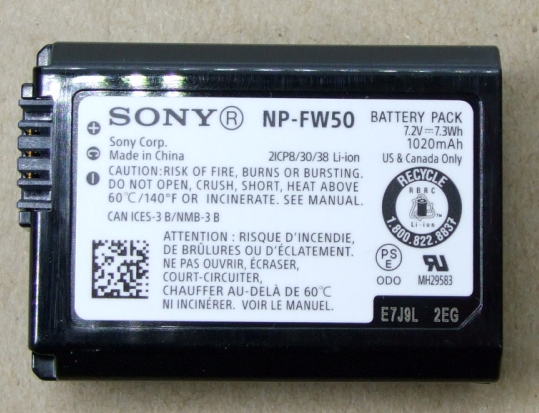
This is what’s included in the box. There is no stand-alone battery charger. The battery charges inside the camera. If you don’t like this, you have to purchase a charger made by Sony or made by 3rd-parties. The battery is a common Sony model, the NW-FP50, so you shouldn’t have a problem finding one. Or you may already have it if you have other Sony cameras…
- the camera
- the battery
- the AC charging head and microUSB to USB cable
- Sony branded shoulder strap
- lens hood (attached to the lens)
- the paperwork (lots of it)
THE RX10 MARK IV ITSELF!
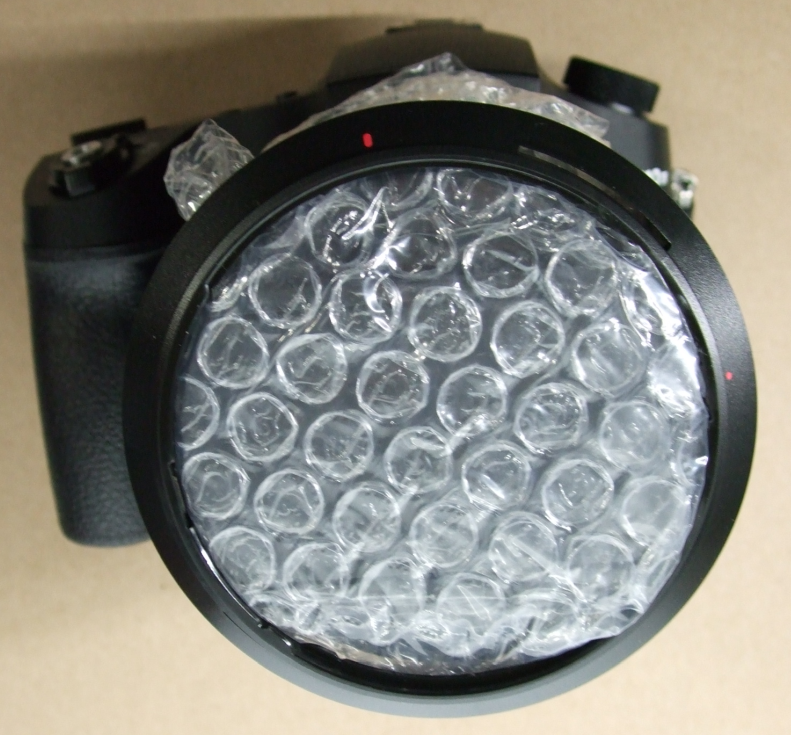
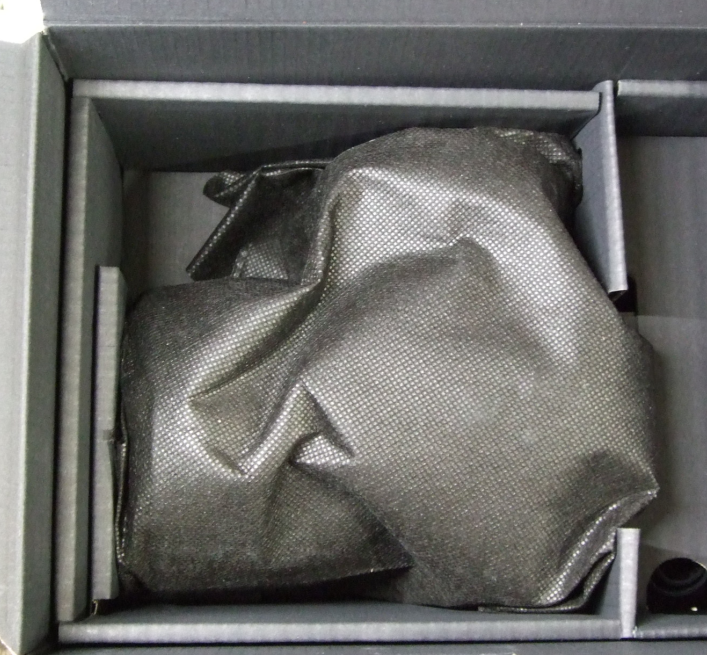
What do we have here? The camera of course! It is in a protective wrapper. This is good for preventing dust and scratches but it’s by no means to be used as a pouch or a case. But if you like to triple-bag things, you can certainly include this as part of your bagging layers 🙂
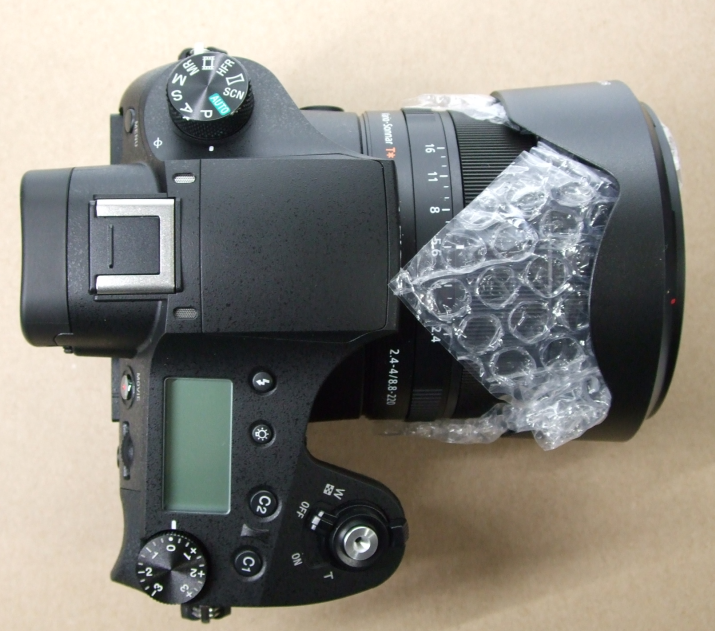
The lens hood is attached to the camera with some protective air-bubble in-between. Here’s the camera, a sideways view of the monster 🙂
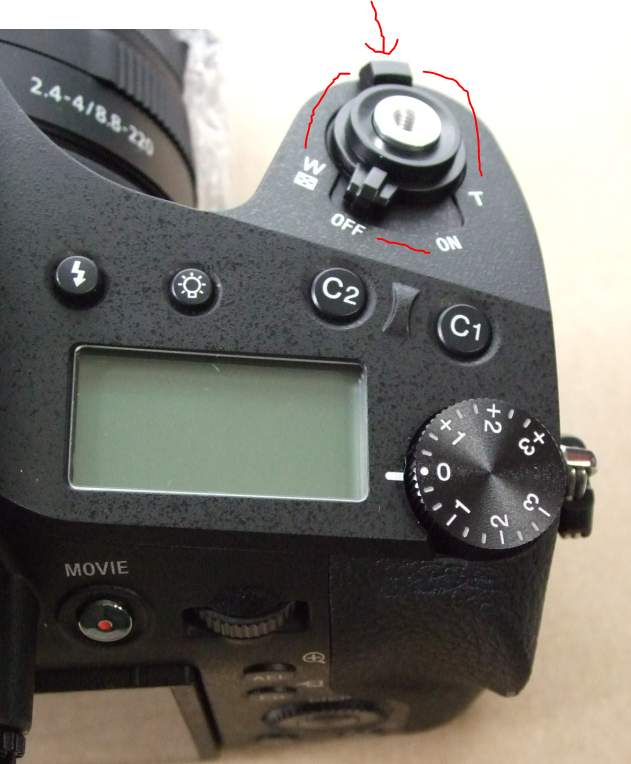
THE RIGHT SIDE OF THE CAMERA
The right side of the camera is very busy. We have the all important power ON/OFF button, which also houses the shutter button, and the zoom lever. Yes, you can zoom the lens with this button, and also by rotating the lens ring on the lens [you can customize which one of the lens rings on the lens is the zoom function].
We also have here the Status Display, the Movie button, the shoulder strap attachment, and other dials and buttons. We’ll go in more details on all the buttons and functions in future posts…
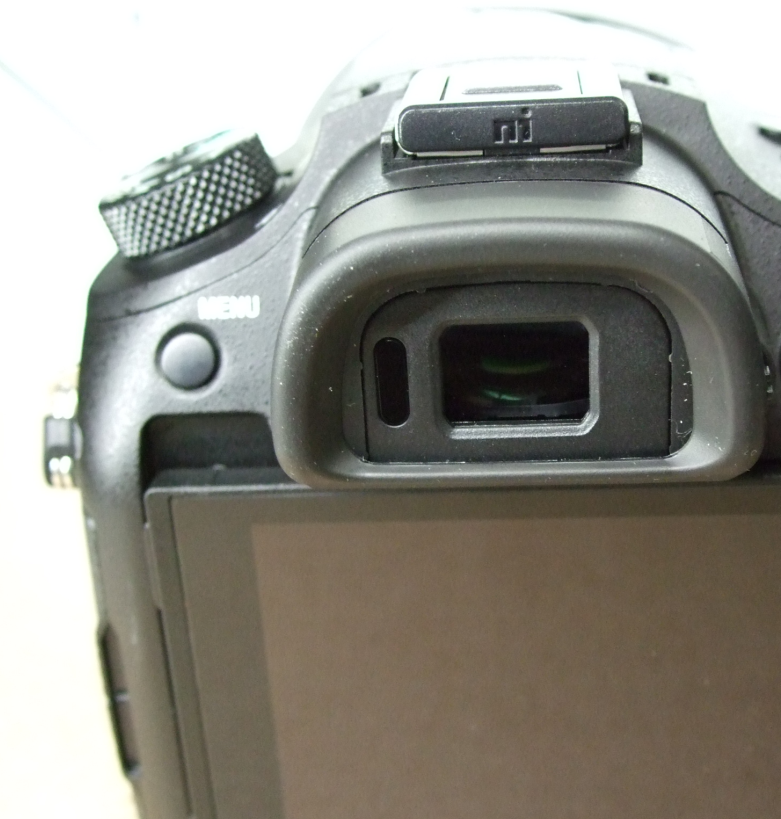
THE LEFT SIDE OF THE CAMERA
The left side of the camera is dominated by the touchscreen display and the electronic viewfinder (EVF) with the hot-shoe above it, along with the Menu button.
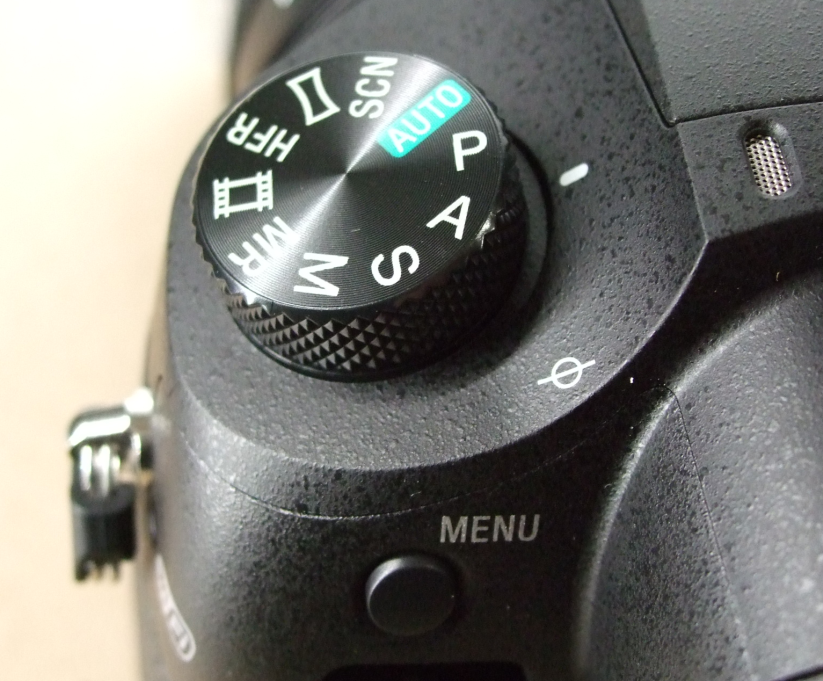
The dial above is an important one, the Modes! We have the customary Program, Manual, Scenes, Auto among others, along with the buzz-generating HFR, the super-slow-mode one…
THE LENS and the FRONT
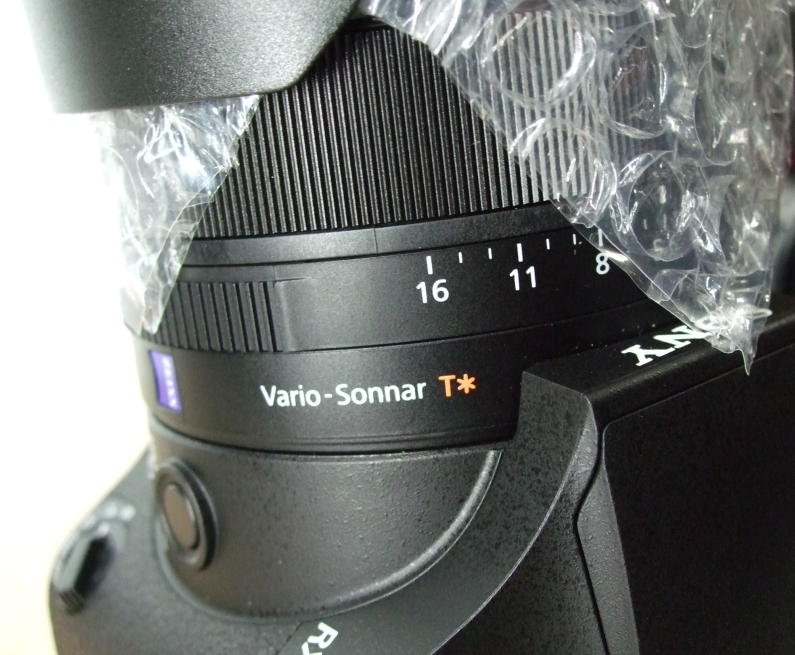
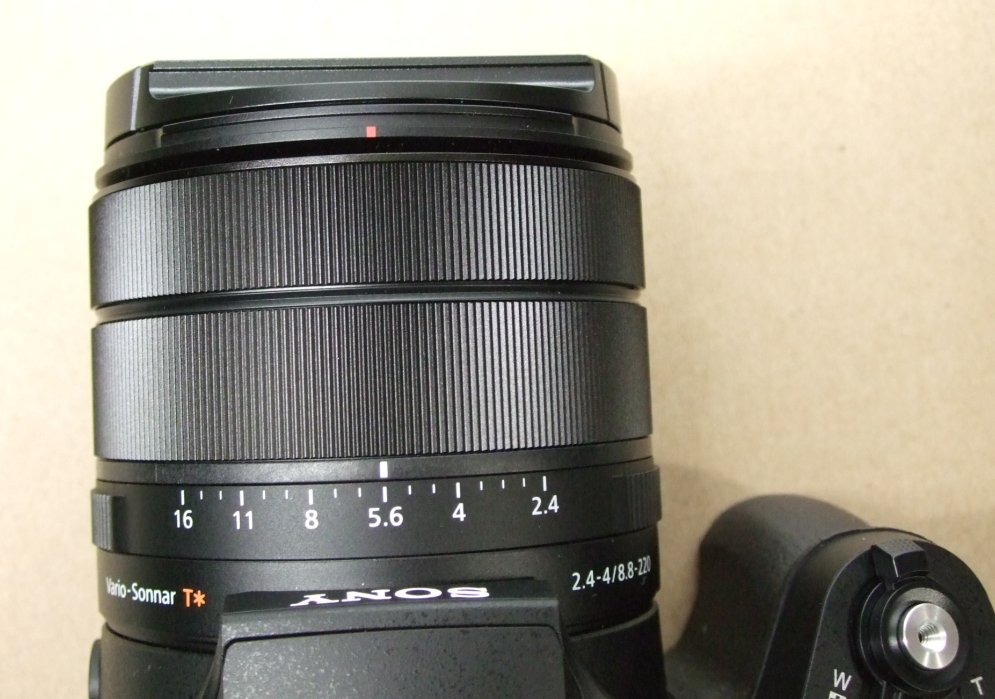
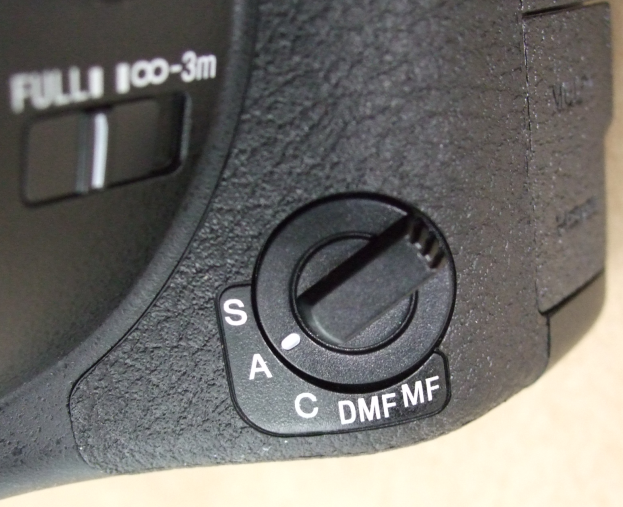
There are two buttons on the front right, the Autofocus mode, and the Focus limiter. Make sure you don’t limit focus if you are planning to take close-ups. This monster lens has a solid macro feature too, it can focus as close as 3 inches away!
BOTTOM and SIDES OF THE CAMERA
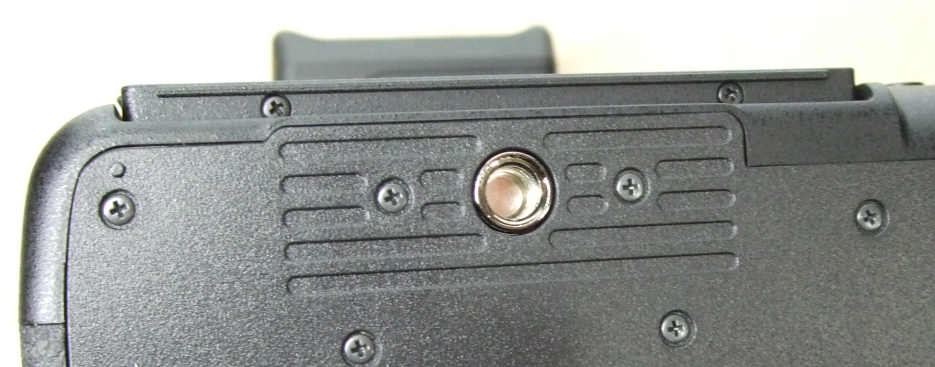
The bottom of the camera is strictly utilitarian. We have the standard tripod socket…
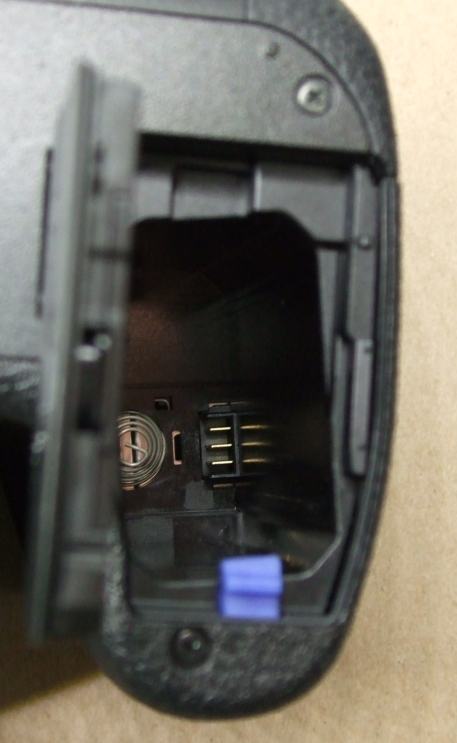
And the battery area, opened. As you can see, there is a spring and connectors inside, along with that little blue side-button that pushes the battery out for easy removal…
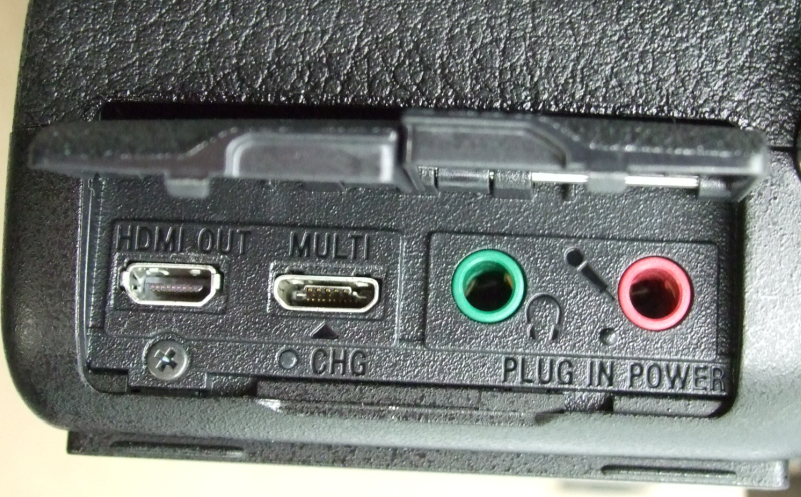
All these ports are covered of course, but they are the HDMI out and the microUSB (and multi-function) ports side by side, followed by the headphones-out and microphone-in…
THE ACCESSORIES
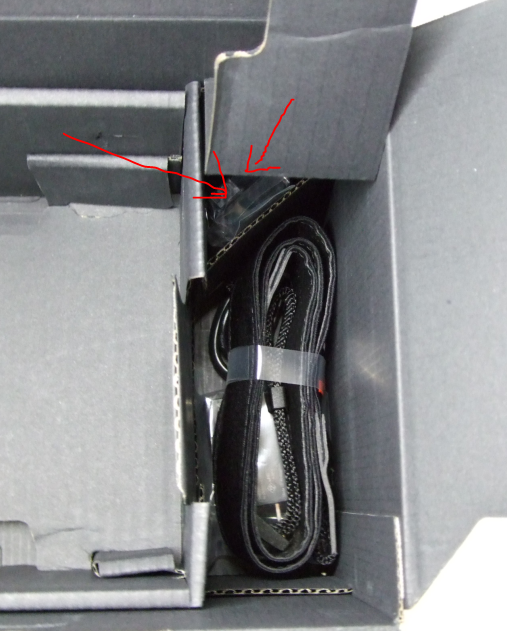
The accessories are on the right side of the cardboard contraption. Before you panic and return the camera or call customer service, check the little corner pointed to by the arrows. That’s where you will find the battery! Do not panic, take a deep breath 🙂
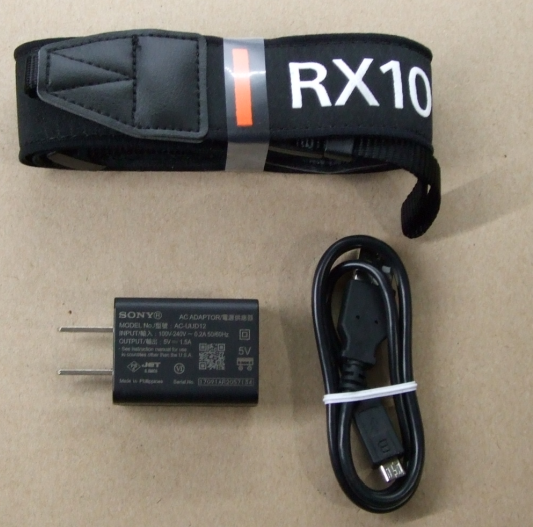
Here are three of the included accessories, the shoulder strap rolled up, the AC charging head, along with the USB cable which is Full Size (version 2.0) on one end, and microUSB on the other end. Sadly no USB-C.
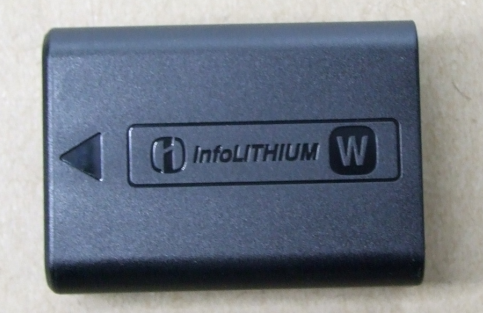
And this is the battery, front and back. It is the Sony NP-FW50, a popular battery among many of Sony’s batteries, so if you have existing Sony cameras, or you plan to purchase more in the future, you can share them between them…
THE PAPERWORK
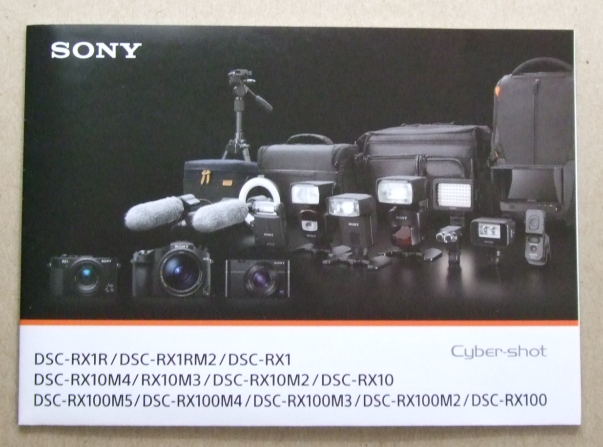
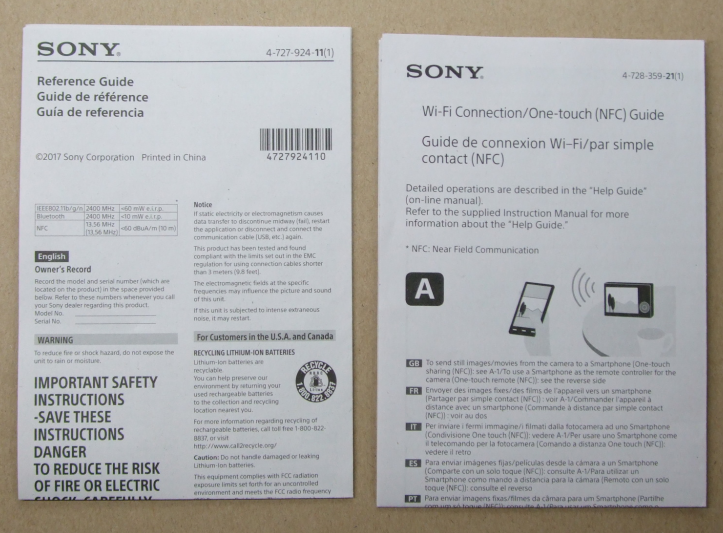
And here’s the paperwork, seven different pieces!


Leave a Reply