Just like the Cylons, I had a plan! First I reviewed the Nexus 6 running Marhsmallow for posterity. Then I upgraded to Nougat (no problems!). And now to the third step, I switched from T-Mobile to Google’s Project FI.
WHY SWITCH TO PROJECT FI?
Once upon a time, T-Mobile was an uncarrier. Now they are more or less at the same un-un-carrier level as Verizon and AT&T, and I realized I was paying a lot more than I was using. With the data-hungry “Walmart plan” going away (5GB per month on $30/mo prepaid), there was nothing useful at T-Mobile to downgrade to.
Since the Nexus 6 is an uber-carrier phone, I decided to give Project FI a try. It is the oldest phone supported by Project FI which is only Nexus (5X, 6, 6P) and Pixels (2016 and 2017 duos) phones. Mine is factory unlocked Nexus 6 which I scooped up during the 2015 holiday shopping season sales. Maypahs I should have picked up two 🙂
You pay $20 per month for the service (talk, text, etc), and then you pay for the data by the pound. Okay, by the megabyte. It’s approximately one penny per megabyte, or $10 per gigabyte. The minimum data you can select is 1GB/month but you can change it at any time (effective next billing cycle), and you get refunded for every megabyte you don’t use. Likewise, if you go over your limit, you pay for it at the same rate, $0.01 per MB….
UPDATE: since then, Google placed a ceiling on how much they can charge you for data. Once you break through the ceiling, it essentially becomes unlimited …with limits [every individual line that goes over 15GB for a billing period gets throttled to 256k for the remaining of the period; remember, Wifi/Wifi-Assistant does not count towards this]. The ceiling is 6GB for one line and it increases with more lines in your account. This is the “Bill Protection” feature…
The prices are actually not as low as the just-launched Comcast/Xfinity Mobile, HOWEVER, you can only use the Xfinity service if you buy one of their smartphones at regular prices. You can’t use your own device, which is a deal-killer for many. You get the low monthly Xfinity prices only if you already have another Xfinity post-paid service (eg internet service) or you are willing to sign-up for one. Otherwise you pay more per month, but it’s still competitive with the big four carriers.
GETTING STARTED
Once you make sure you have a compatible and unlocked phone, you order a Project FI SIM card from the FI website. It is completely free! Shipping is on them. It is on the slow side, but you are paying $0 🙂
When you order the SIM, you are not committing to anything. You simply buy the SIM. You only commit after you receive the SIM and activate the service and/or transfer your phone number. Speaking of which, you can prefill the necessary information when you order the SIM, so when the SIM arrives, you can get the transfer process rolling faster (that’s what I did). You have to give them your T-Mobile PIN number, which I had to dig to find 🙂
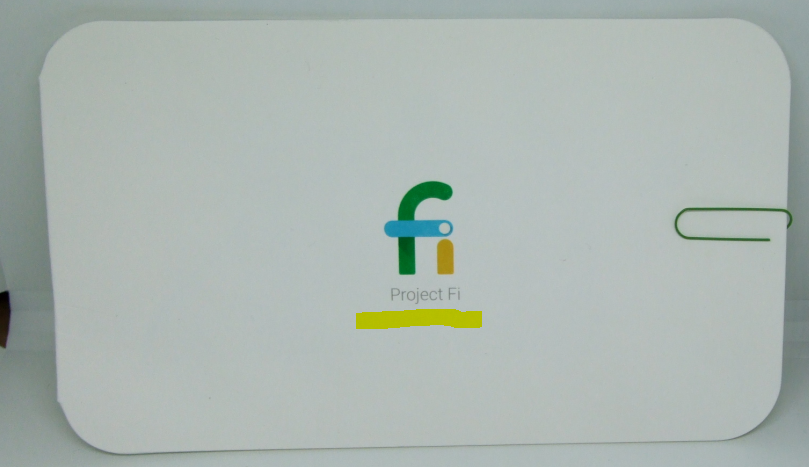
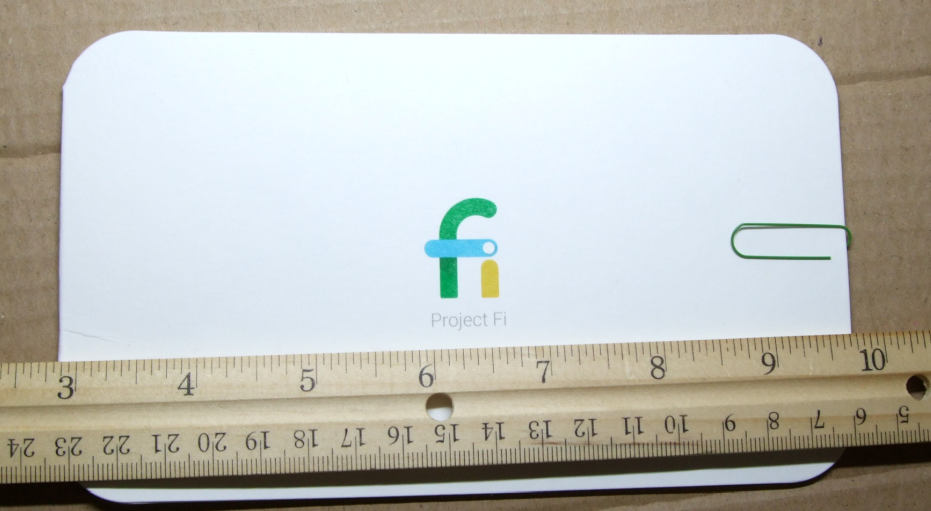
The packaging is very spartan, but you get a bonus item, a …paperclip. The one you see in the picture above. It’s a Google paper clip, so add it in your Google Shrine 😉
SIM CARD ARRIVES
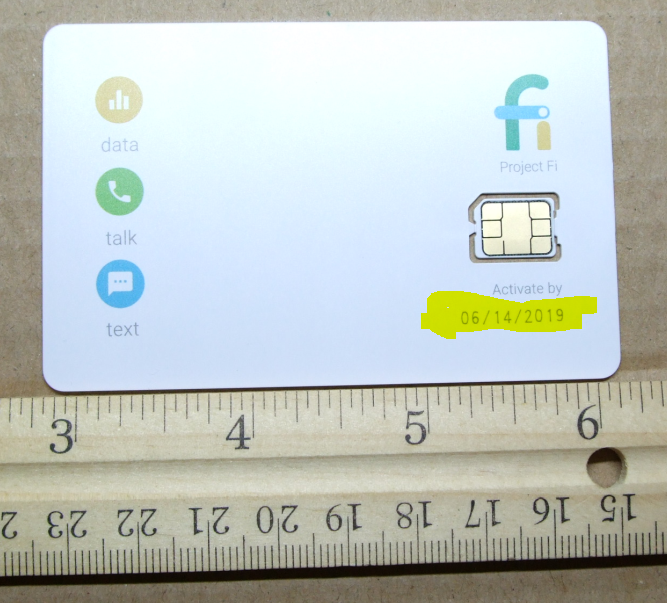
Since the FI service is only available on a preset number of phones and they all use nano SIMs, you get a nano SIM card. Not one of those 3-in-1 or 2-in-1 or those DIY trim kinds 🙂
The activate date is quite generous, you have over 2 years in the future, so you can deliberate on it like a proper Senator 🙂
The back of the card has both the website and the toll-free phone number to call if you want to activate the service and/or transfer your existing phone number to it.

ACTIVATING SERVICE and TRANSFERRING THE NUMBER
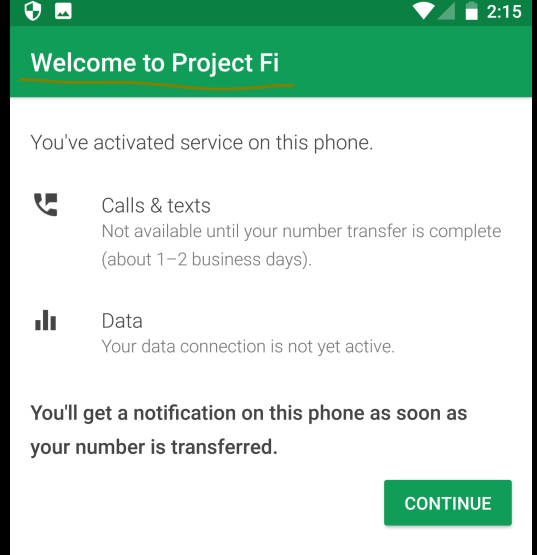
I used the Project FI website and the prompts on the smartphone to get it done. I followed the prompts and the help pages. It was easy. I was actually surprised at how quickly the phone number ported over. I did not start a timer, but it was under five minutes. I was expecting hours 🙂
I turned off the Nexus 6, opened it up, removed the T-Mobile un-un-carrier SIM card, and replaced it with the Project FI, and started the phone again.
Everything worked just fine out of the box, EXCEPT for the Mobile Hot Spot. I tried using the phone at different locations, and everything else worked just fine. But no matter what I did, the mobile hot spot did not work. No data was flowing.
FIXING THE MOBILE HOT SPOT
I called their customer service, and it was very human-friendly ~ the opposite of Google As A Company 🙂 We went through various troubleshooting steps and it turned out I had to do a factory reset on the phone to get it working.
I am not sure if this is something I had done in the past to cause it, because I had aggressively turned off permissions, including Google PLAY services. It will remain a mystery what caused the mobile hot spot to not work out of the box.
But after the factory reset, it worked just fine without any issues. The Mobile Hot Spot is included in the service. There’s no extra fee for it, but you obviously have to pay for the data it uses at the same rate, $10/GB or the “by the pound” equivalent of a penny per megabyte (approximately).
ALL IS WELL
A few weeks later, here we are 🙂 Everything is working fine! I haven’t noticed any impact on battery life from running Project FI versus T-Mobile.
In terms of service, the Project FI most of the time connects me to T-Mobile, but Sprint is also available in the area, along with Wifi.
The Project FI services does not give you direct visibility into which carrier you are connected to, but there are ways to find out. This may sound a bit clickbait-y, but there are upcoming posts in the works on this very matter 🙂
DATA-ONLY SIMs
You can only order a data-only SIM if you already have activated Project FI service. You cannot order them ahead of time. A Data-only SIM allows you to use your data service on other compatible devices (they don’t have to be Nexus/Pixel). The data is paid from the same pool, so you pay by the megabyte. The main practical difference between a data-only SIM and a regular one is that you can only place and receive phone calls with a data-only SIM if you use the Google Hangouts app.
I haven’t tried this yet, but I will definitely try it later on as it is a good way to have more device flexibility without spending money on additional unnecessary service 🙂
UPDATE March 2018: I have tried the Data SIM with the Sony Xperia L2 (unlocked GSM phone) and using the same phone number I can send/receive calls/text using the Hangouts apps…
OTHER ISSUES
I was not using Google Voice before starting this, but if you are using it, there are some complications if you want to use them together. They are explained in this Computer World article.
NEXT POSTS
Posts that are in the works in the next few weeks/months:
- Tips and Tricks to make the most of the service
- Apps dedicated to Project FI
- Comparison to other services
- Review the Nexus 6 as a Nougat device
- and who knows what else 🙂
Leave a Reply