And we are back with our second smartphone text and pictures useful unboxing post, the new entry-to-midrange Sony Xperia L2, an unlocked GSM smartphone that straddles, at least features-wise the entry-level and the mid-range. In this post, we describe and show what’s in the box. A lot more is coming on this smartphone – please leave a comment if you have any questions about it!

What’s Included?
- the phone (battery is non-removable)
- the AC adapter head
- a USB-A to USB-C cable
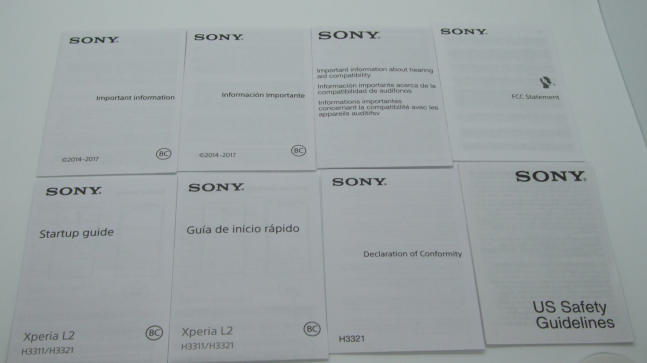
- paperwork (eight little booklets)
- these, and nothing more
Don’t care about the packaging and accessories? Jump directly to the phone pictures…
OPENING THE BOX
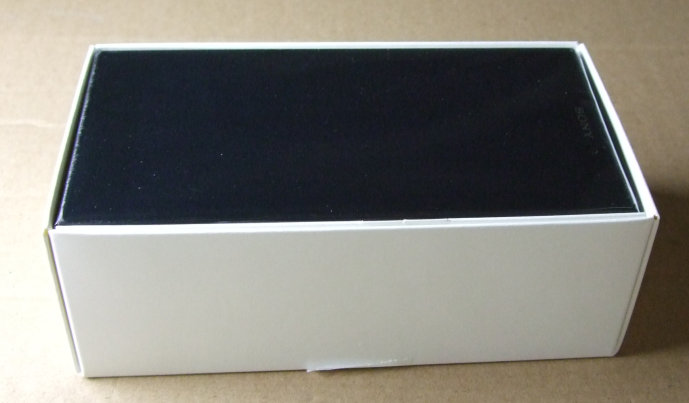
The phone comes in a white box, measuring roughly 6.25 x 3.5 x 2.5 (tall) inches
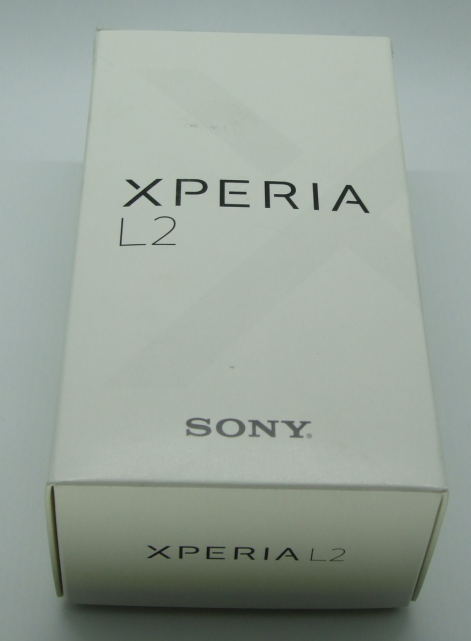
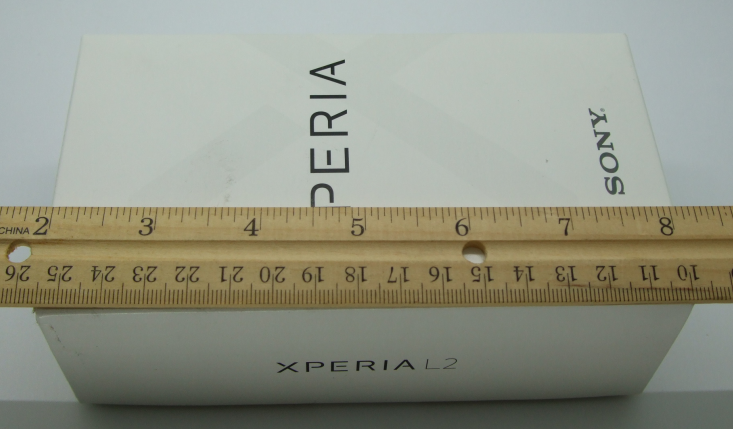
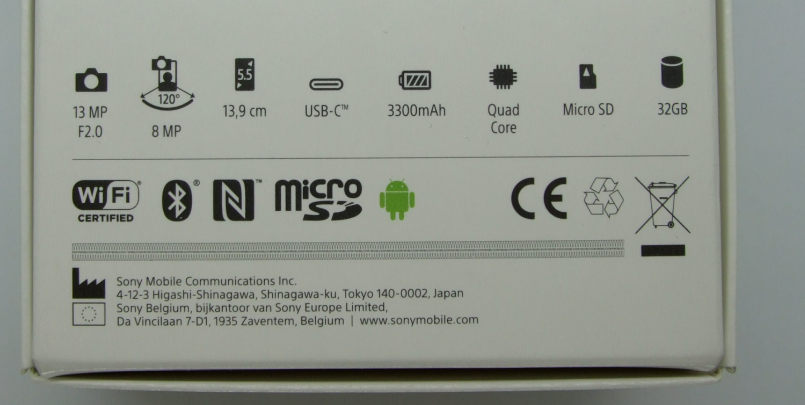
The back side of the box is a visual summary of its specs.
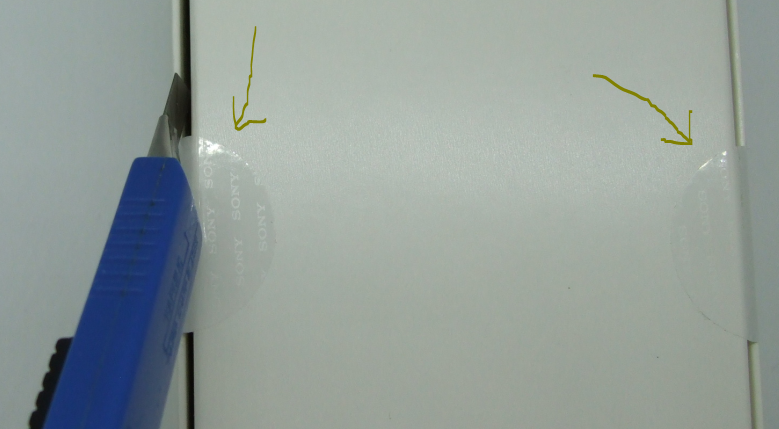
The box is held closed with two sticky dots on the underside, simply slice them gently with a box cutter and the phone is liberated…
INSIDE THE BOX
The phone is stored in a clear protective cellophane type of a bag, and there’s also a pre-installed protection film on it.
Underneath the phone, we have everything else that’s included
THE CABLE AND PAPERWORK
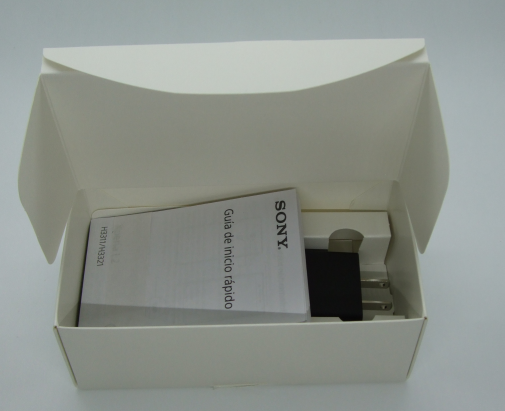
Deep inside the box, we found the AC adapter head, the USB-A to USB-C cable, and eight little booklets held together. There is a “Startup Guide” in english and spanish that tells you to charge the phone for at least 30 minutes before you turn it on. It recommends only using the included cable. It has this and a few other random tidbits on the phone. More on these in the next post, the “Initial Setup” [link will appear here after I write it!]


THE ACTUAL SONY L2 PHONE (FINALLY!)
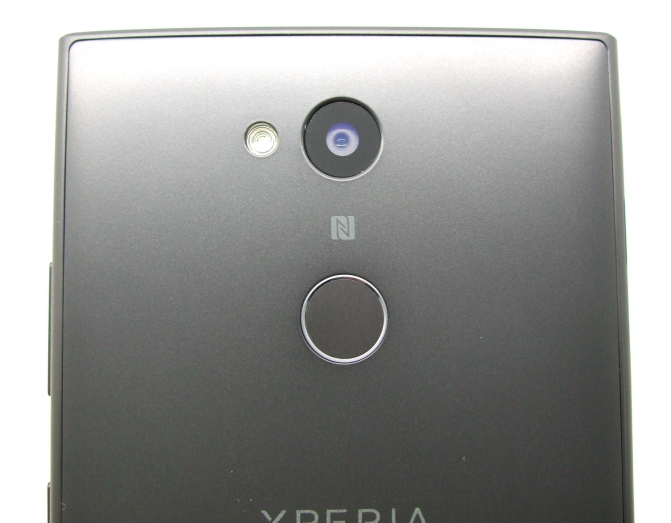
At the back of the phone, we have the camera with its flash, followed by the fingerprint sensor, and a giant Xperia logo. Interestingly, the NFC area is in-between the camera and the fingerprint sensor, that little N square you see there.
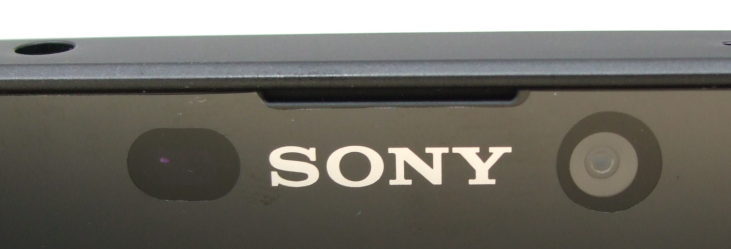
At the top front, we have the camera and flash and the SONY name. We have double-sided branding!
At the bottom, we have the USB-C connector, and the speaker…

At the top left side (the picture is upside down) we have the 3.5mm headphone jack, something sadly we can no longer take for granted with smartphones…

On the right side, we have the Volume rocker button and the Power button…

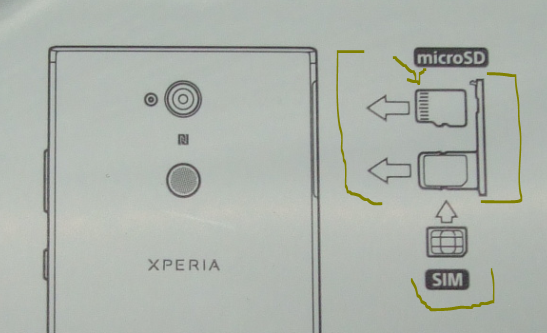
On the left side, we have the tray for the SIM card and the microSD card. The tray itself is for the SIM card while the microSD card goes in on its own but you still have to remove the tray to insert the microSD card. A little sticker is on the front of the phone that explains how to insert the SIM and microSD cards…
And here’s a picture with a ruler. We’ll have more on that and weight and such in the upcoming review posts. This is only the unboxing…

COMING UP NEXT
- summary of the initial setup and installation
- distilled discussion of its features
- using with a cellular carrier
- benchmarks
- and much and more
- ask for anything you want checked out in the comments
LIKE UNBOXINGS?
If you like unboxing, we have another smartphone text and pictures unboxing, it is the LG Stylo 2 (Virgin Mobile edition).
SONY XPERIA L2 REVIEW SO FAR
+ UNBOXING THE SONY L2
+ INITIAL SETUP and CONFIG
+ BLOATWARE
+ FEATURES and SPECS
+ XPERIA L2 upgraded to JANUARY 2018 SECURITY PATCH
+ XPERIA L2 WORKS WITH PROJECT-FI DATA SIM
+ PHONE CALLS AND TEXT MESSAGES USING THE SONY L2 WITH A PROJECT-FI DATA SIM
Leave a Reply